About 8 months ago Dustin and I bought land and decided to start building our dream home. It has definitely been a labor of love with lots of sweat, stress, and tears. Although stressful it has been a very cool experience and we are very blessed. Up until now I have been documenting the process on my Instagram and Tiktok accounts but have since decided to bring it to the blog.

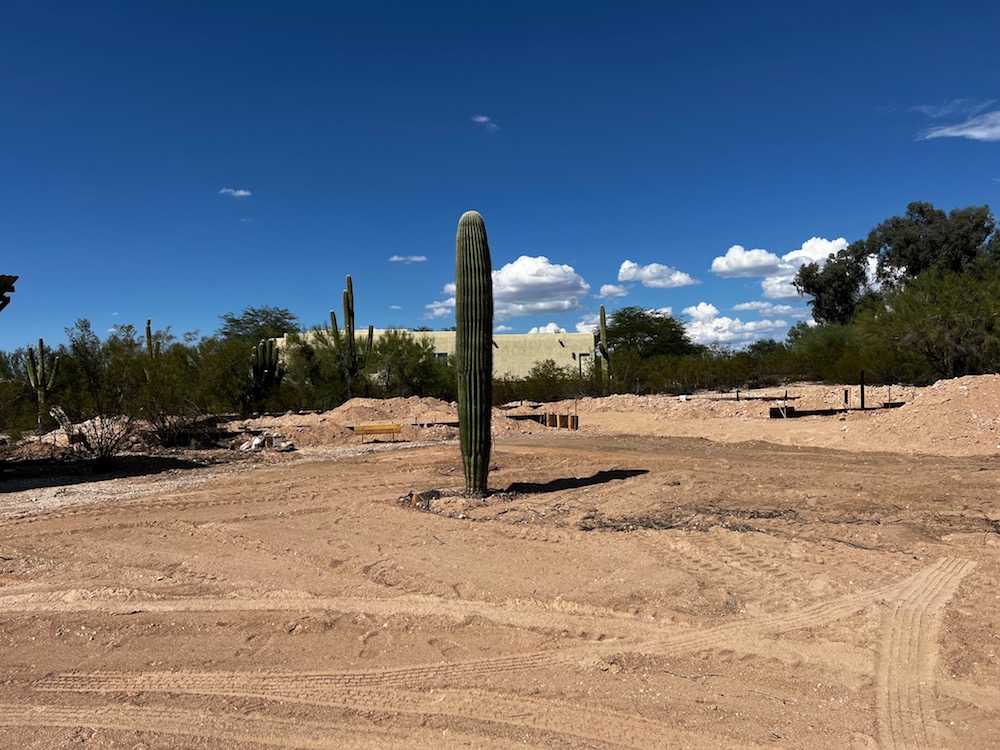
Step 1: Excavation and leveling of the land. We didn’t have a ton to clear out but there was some work to be done. we also had to do some dirt work and build up part of our lot to become even with the rest.
Step 2: mapping out the house. Once the dirt work was done a spraypainted layout was done to scale to map out the house out so the footers could be dug.
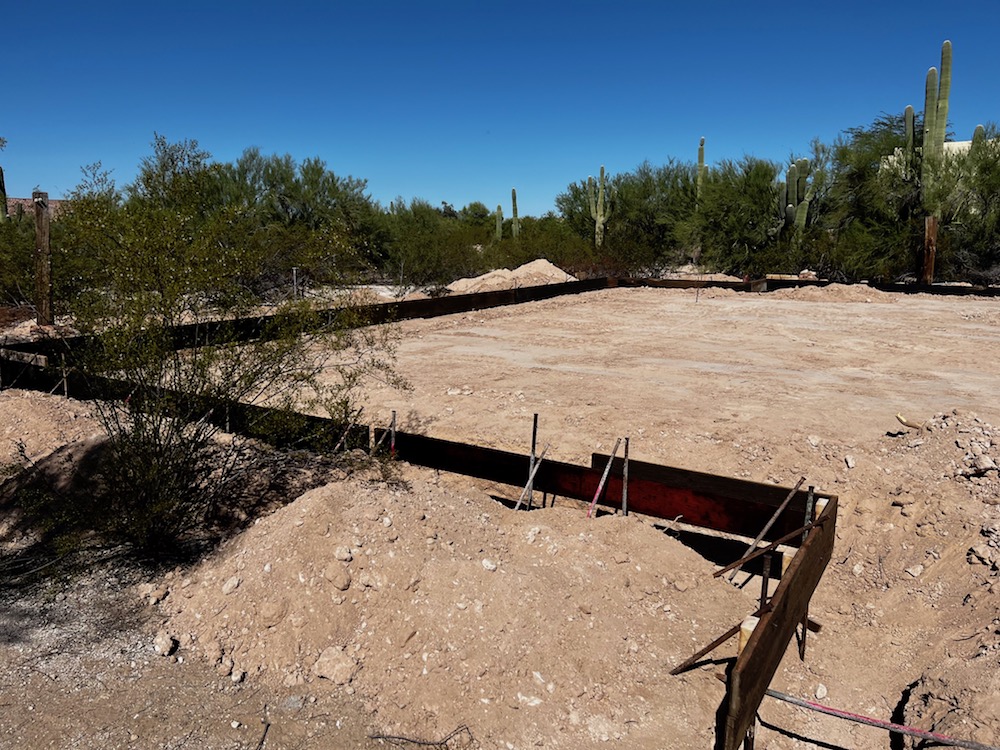
Step 3: Digging the footers. Our exterior and interior footers were done. from my understanding, footers helo with the structure of the slab, giving it support. our footers were dug pretty deep so we have a very structurally sound slab.

Step 4: Plumbing. all of our underground plumbing was dug up and placed in the ground. We had to pass a couple of inspections before being able to cover all of the plumbing.
Step 5: Compact the dirt and add AB. In Arizona, the dirt has a lot of clay and can expand when wet so a layer of Ab is poured over the dirt and compacted. AB doesn’t expand allowing water to move through it instead of puddling up. This allows for a slab that will last longer.
Step 6: Rebar. Rebar was cut and added into the footers and over the AB. this gives the concrete something to hold onto so it isn’t directly on the Ab (ground). The reason for this is to give concrete something to grip onto that acts as a reinforcement that is resistant to corrosion.

Step 7: Termite pre-treat. We had truly Nolen come out the day before to do a termite pretreat on the entire layout where the slab will be poured. They will be coming out 2 more times later on.
Step 8: Time to pour! The pouring process was so interesting, watching the rocky concrete being poured and then smoothed was so interesting! we went with Oremus for our concrete and had a great experience. I highly recommend them and plan to use them again. Also because we are doing concrete floors in our house we decided to do colored concrete. We chose the color caramel from Davis Colors, which Oremus pre-mixed into the concrete before delivering it to us. The color will be a beautiful sandy neutral, I can’t wait for you to see it dry!

Step 9: Once the concrete was dry on top and able to be walked on, it was cut to help the slab crack less. We chose diamond tile shapes and couldn’t be happier.

for more frequent updates follow along on Tiktok or Instagram!
